Setup step by step. WordPress in a local environment is a useful skill for website developers, bloggers, and anyone who wants to experiment with website design and functionality. Local installations offer a secure and efficient environment for testing themes, plugins, and content without disrupting your live website. This detailed guide will walk you through installing WordPress locally, step by step, to ensure you have a solid foundation for your website building efforts.
Table of Contents
- 1 Why Set Up WordPress Locally
- 2 Prerequisites
- 3 Choosing a Local Development Environment
- 4 Installing a Local Server (XAMPP/MAMP/WAMP)
- 5 Downloading and Installing WordPress
- 6 Setting Up the Database
- 7 Configuring WordPress
- 8 Accessing Your Local WordPress Site
- 9 Benefits of Local Development
- 10 Conclusion
- 11 FAQ
Why Set Up WordPress Locally
Before we get into the technical intricacies, it’s vital to understand why installing WordPress locally is so useful:
- Safe Testing Environment: Local installations allow you to try out new themes, plugins, and content without affecting your live website.
- Enhanced Development Speed: Local installations run much faster because all resources are saved on your computer, minimizing loading times.
- Improved Security: Local websites are not exposed to the internet, lowering the chance of security breaches.
- Offline Access: You can work on your local site without an online connection.
- Effortless Backup and Restore: Local websites are easy to back up and restore, providing peace of mind.
Prerequisites
Before we begin the process of installing WordPress locally, ensure that you have the following prerequisites in place:
- A computer (Windows, Mac, or Linux).
- A reliable internet connection (for downloading software).
- Basic computer skills.
- Experience with the WordPress content management system (CMS).
Choosing a Local Development Environment
There are several local development environments to select from, based on your operating system and preferences. The most prevalent solutions are XAMPP (Windows), MAMP (Mac), and WAMP (Windows). Here’s how you decide:
- XAMPP: If you’re using Windows and want a versatile, open-source alternative that contains Apache, MySQL, PHP, and other features, go with XAMPP.
- MAMP: If you have a Mac and want an easy-to-use package that includes Apache, MySQL, and PHP, choose MAMP.
- WAMP: If you use Windows and want an easy-to-install Apache, MySQL, and PHP package, WAMP is a fantastic option.
Installing a Local Server (XAMPP/MAMP/WAMP)
Setting up your local server environment is the first and most important step in the process. Here’s how you can accomplish it:
- Download the local server environment for your OS system. If you use XAMPP, get the Windows version. Download the MAMP Mac version. Select the right Windows version while installing WAMP.
- Run the installer and follow the on-screen directions to set up the local server environment.
- After the installation is finished, launch the control panel for your preferred environment (XAMPP Control Panel, MAMP, or WAMP).
- To start the Apache and MySQL services, click the relevant “Start” buttons. This ensures that your server is up and functioning.
Downloading and Installing WordPress
Now that your local server is operational, it is time to download and install the WordPress software:
- Open your web browser and go to the official WordPress website. (https://wordpress.org/download/).
- To get the most recent version of WordPress, click the “Download WordPress” button.
- Once the download is complete, find the downloaded file and extract its contents. This will create a folder containing WordPress files.
Setting Up the Database
To build a database for your local WordPress site, follow these steps:
- Access your local server’s control panel (for XAMPP or WAMP, or phpMyAdmin in MAMP).
- In the control panel, look for the option to create a new database. Give your database a descriptive name, like “mylocalwebsite_db.”
- Make a note of the database name, username, and password; you will need them later throughout the WordPress installation process.
Configuring WordPress
With the database ready, it’s time to set up your local WordPress site:
- Open a web browser and enter the following URL in the address bar:
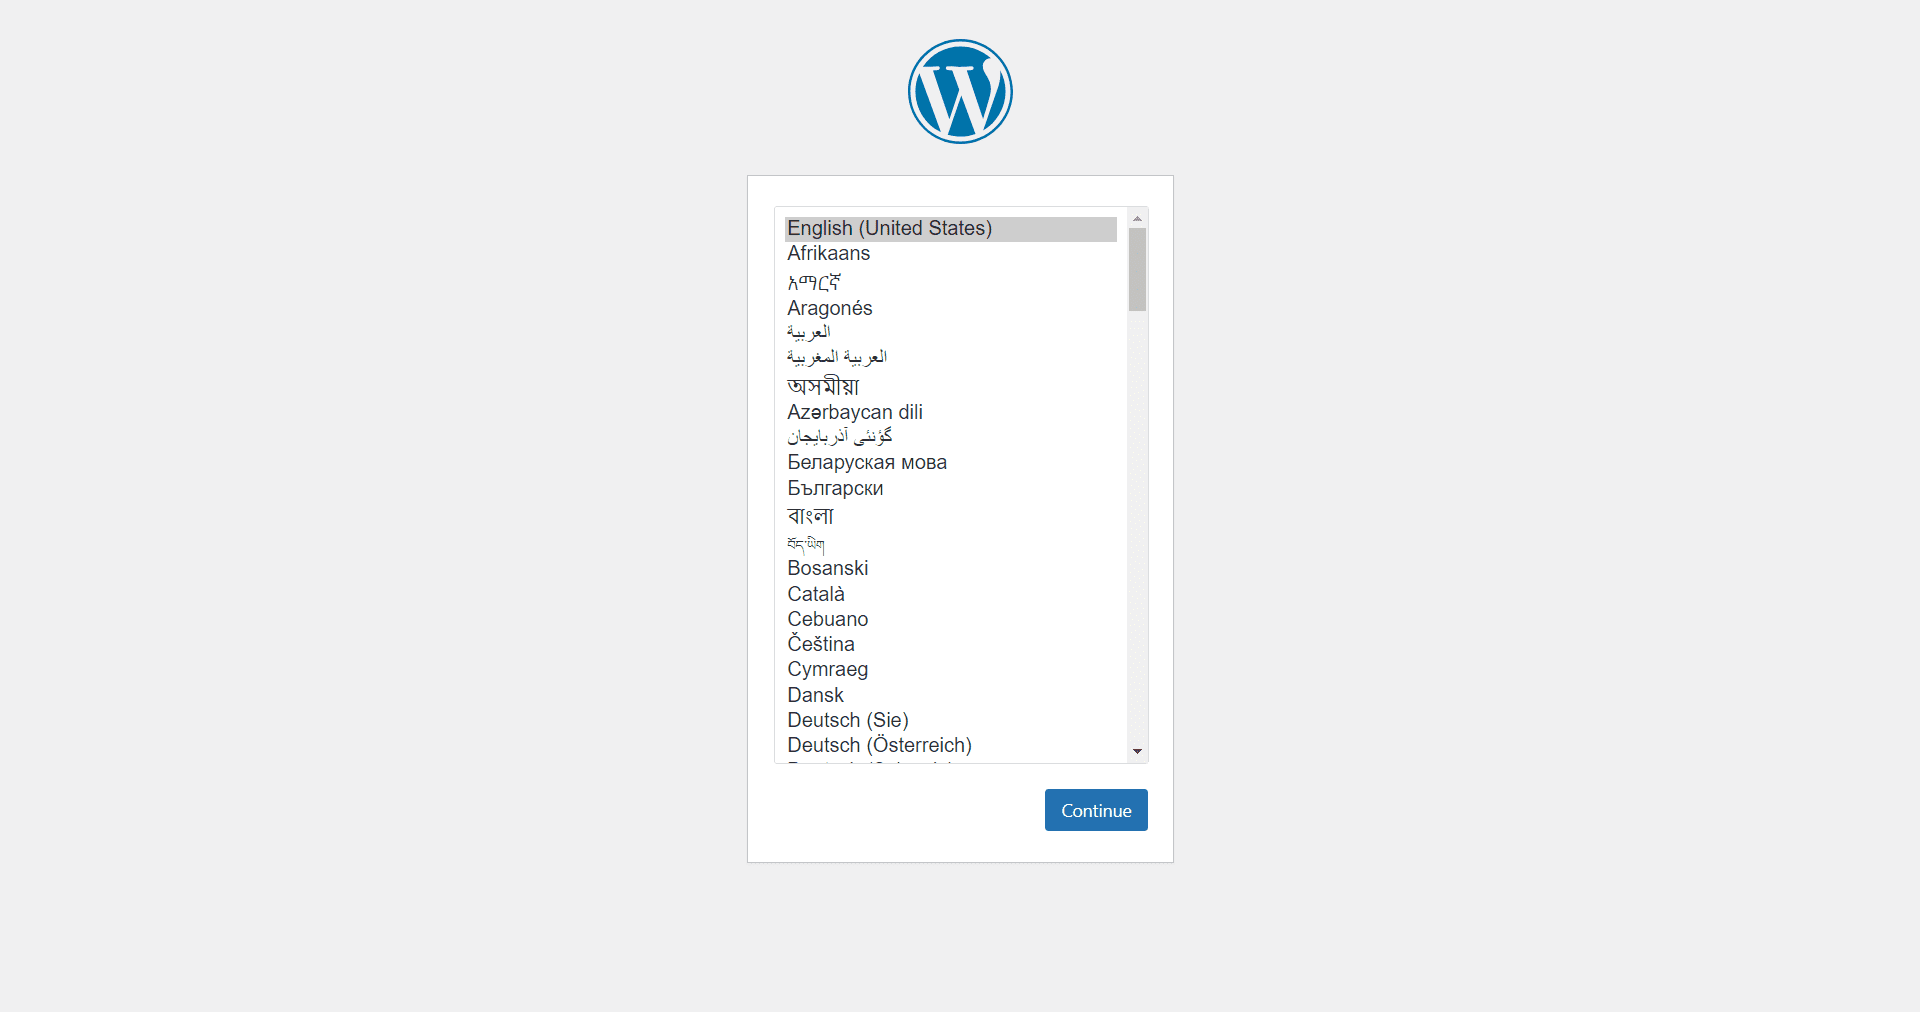
http://localhost/mylocalwebsite(change “mylocalwebsite” with the name you gave your site.). - Choose your favorite language and click “Continue.”
- On the following screen, you will be asked to enter your database information. This contains the database’s name, username, and password.
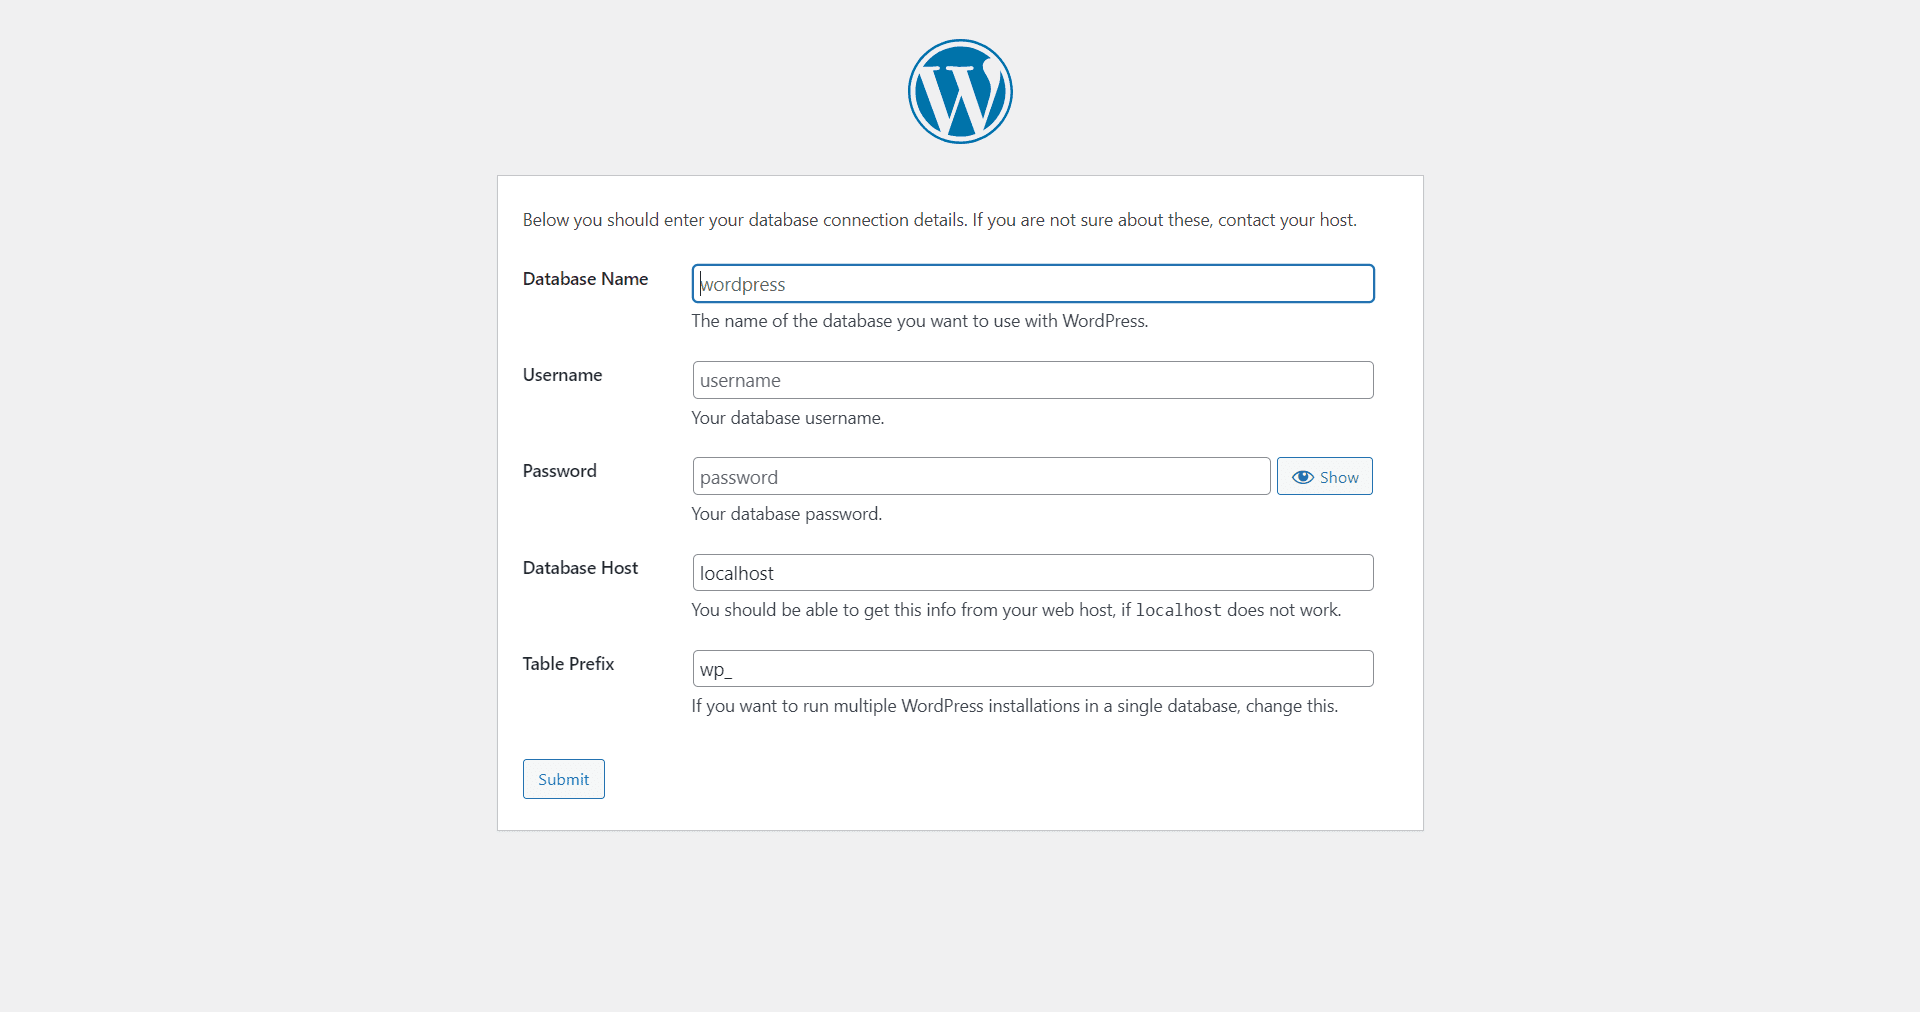
- Click the “Submit” button to start the installation procedure. WordPress will connect to your database.
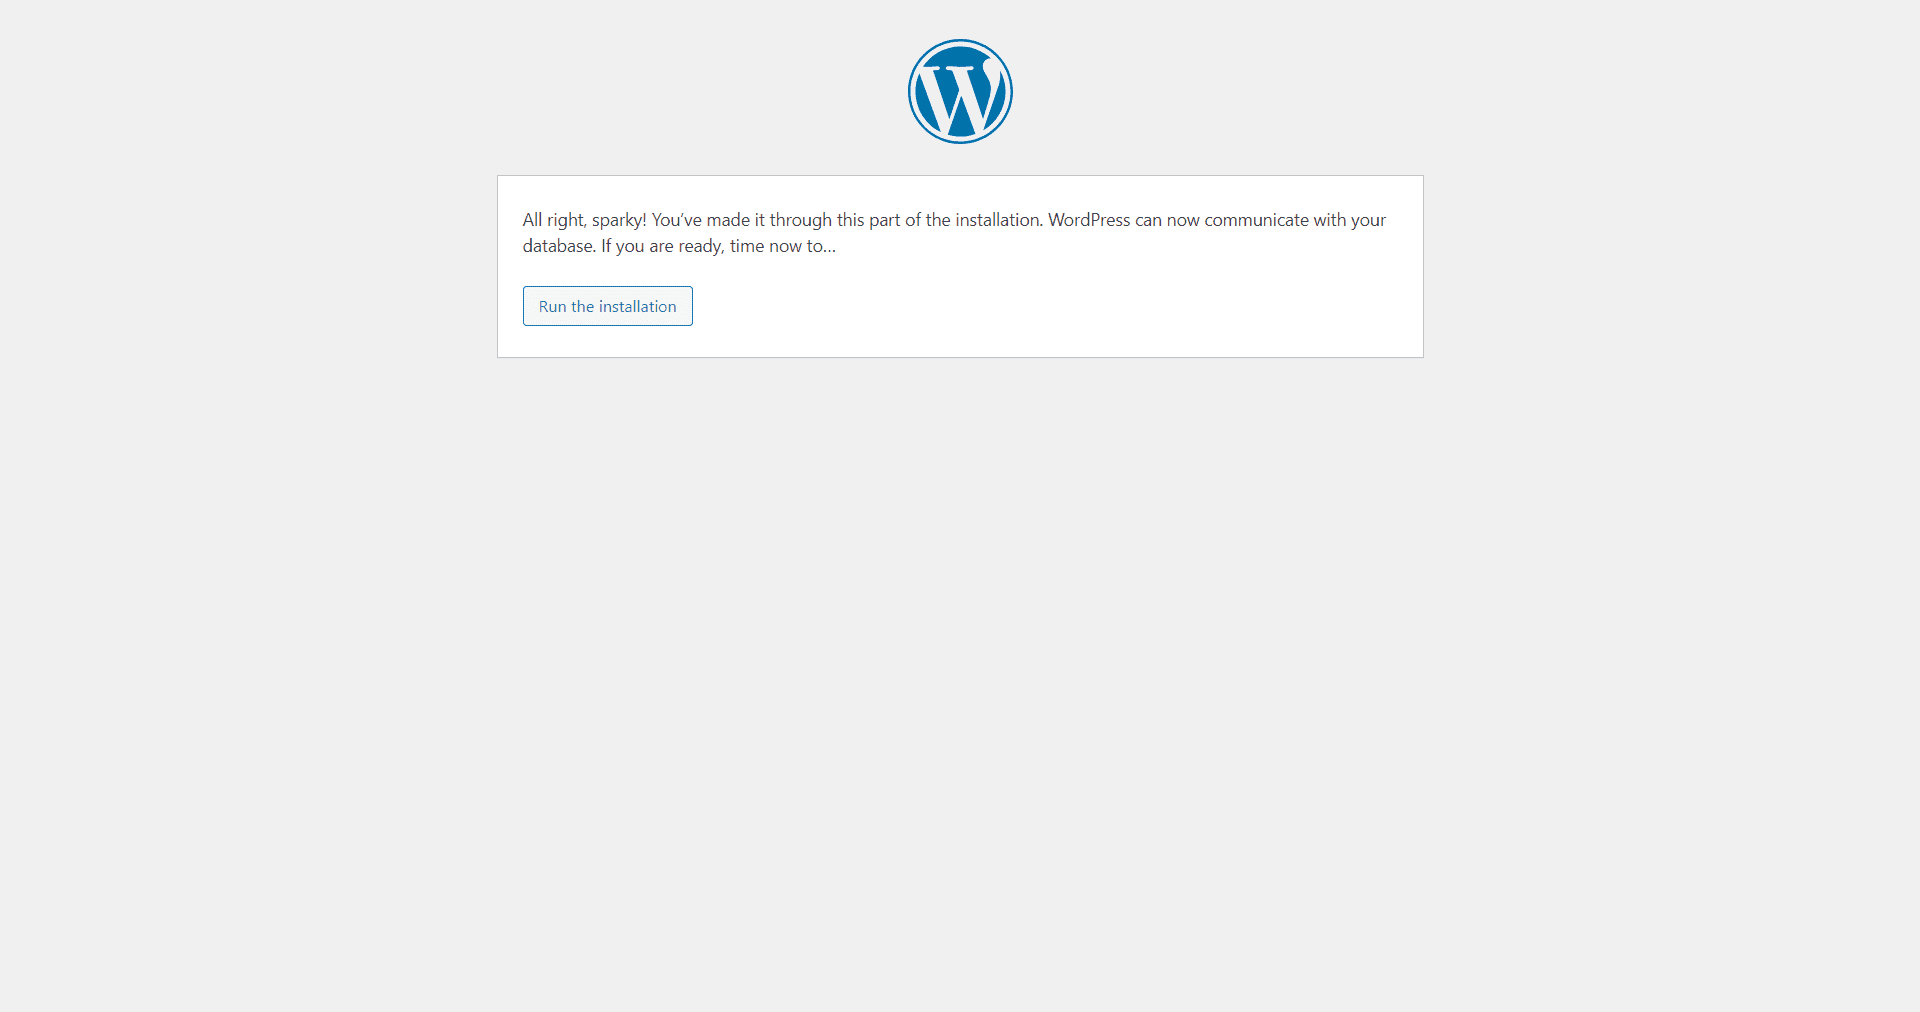
- Once the database connection is established, click the “Run the installation” option.
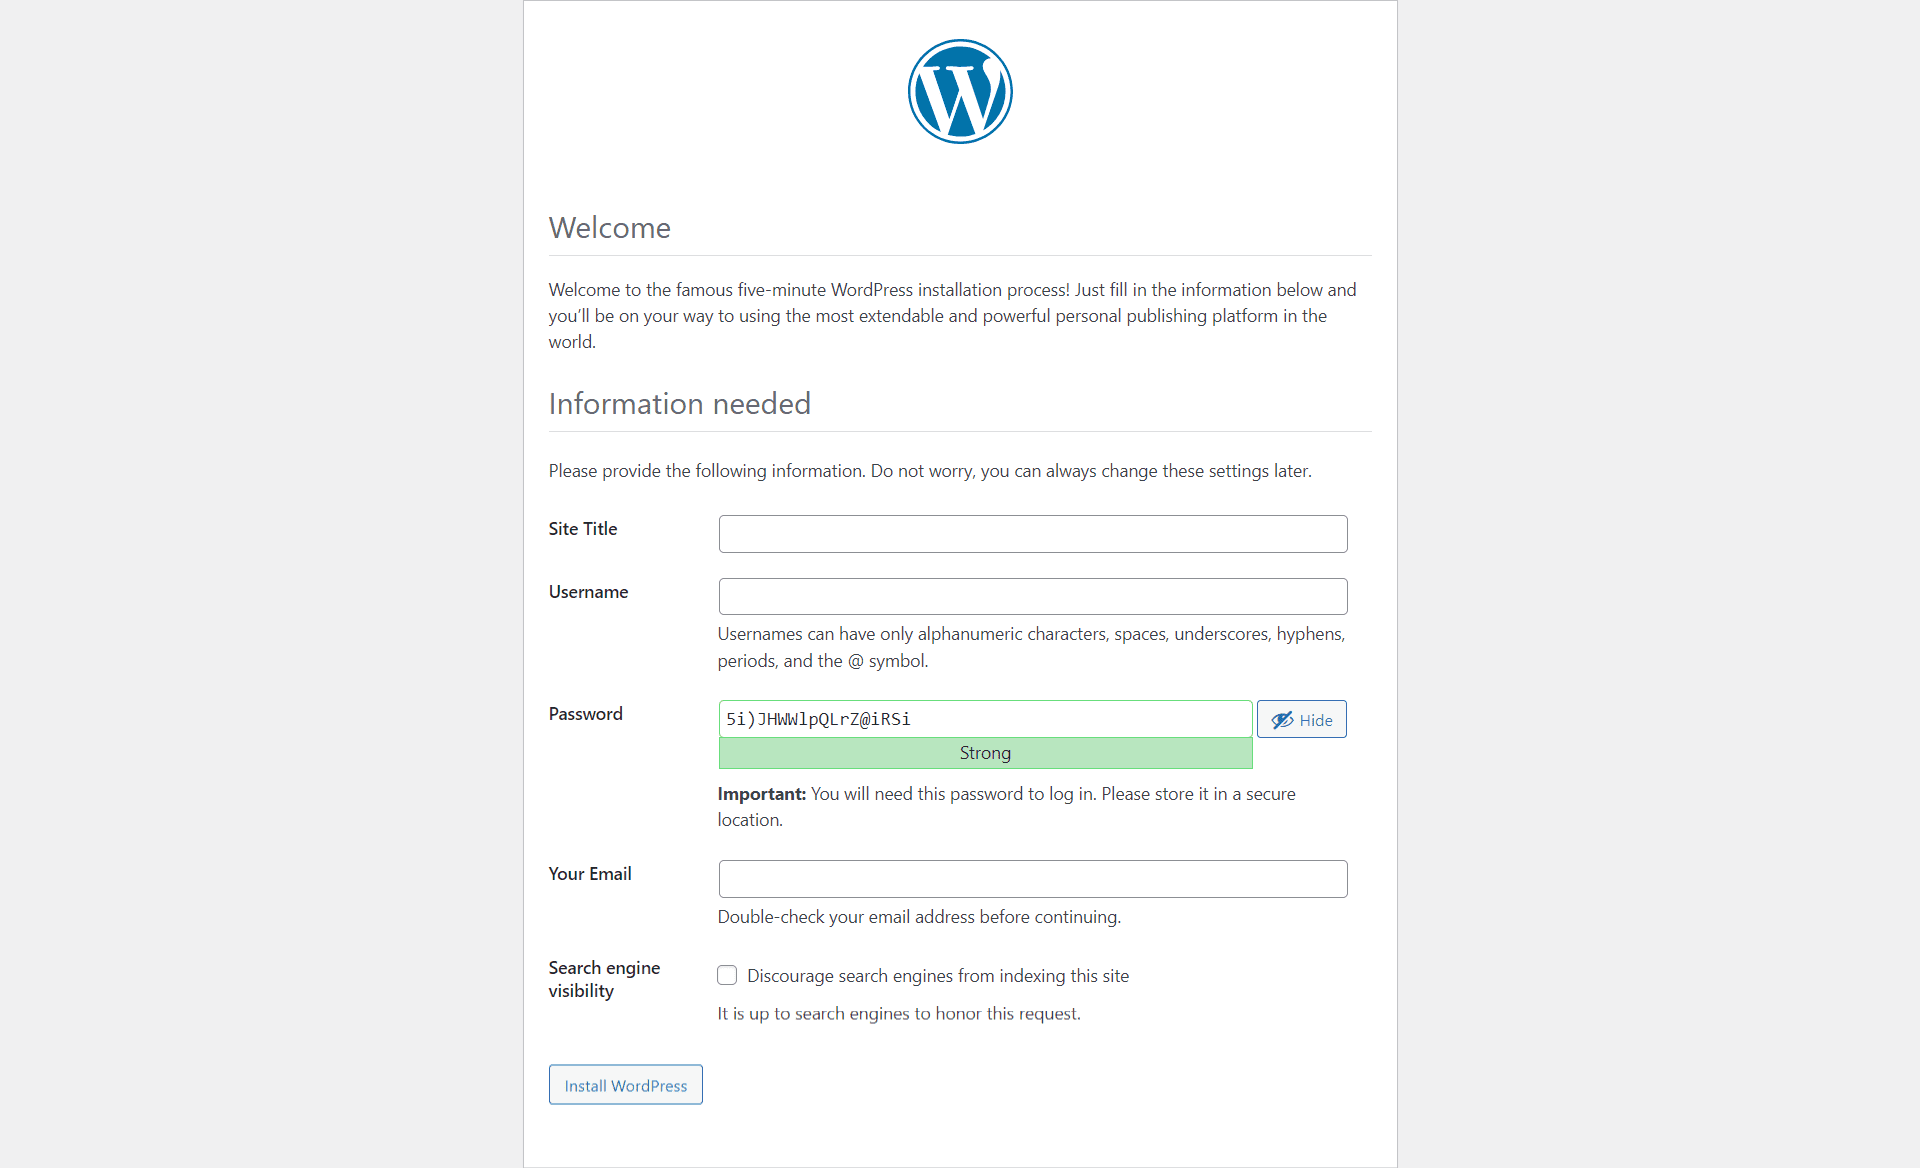
- You will then be required to enter your site’s title, username, password, and email address. Fill up these fields and click “Install WordPress.”
Accessing Your Local WordPress Site
Your local WordPress site has been installed and is available for you to explore.
- To view your site, open your web browser and type the following URL:
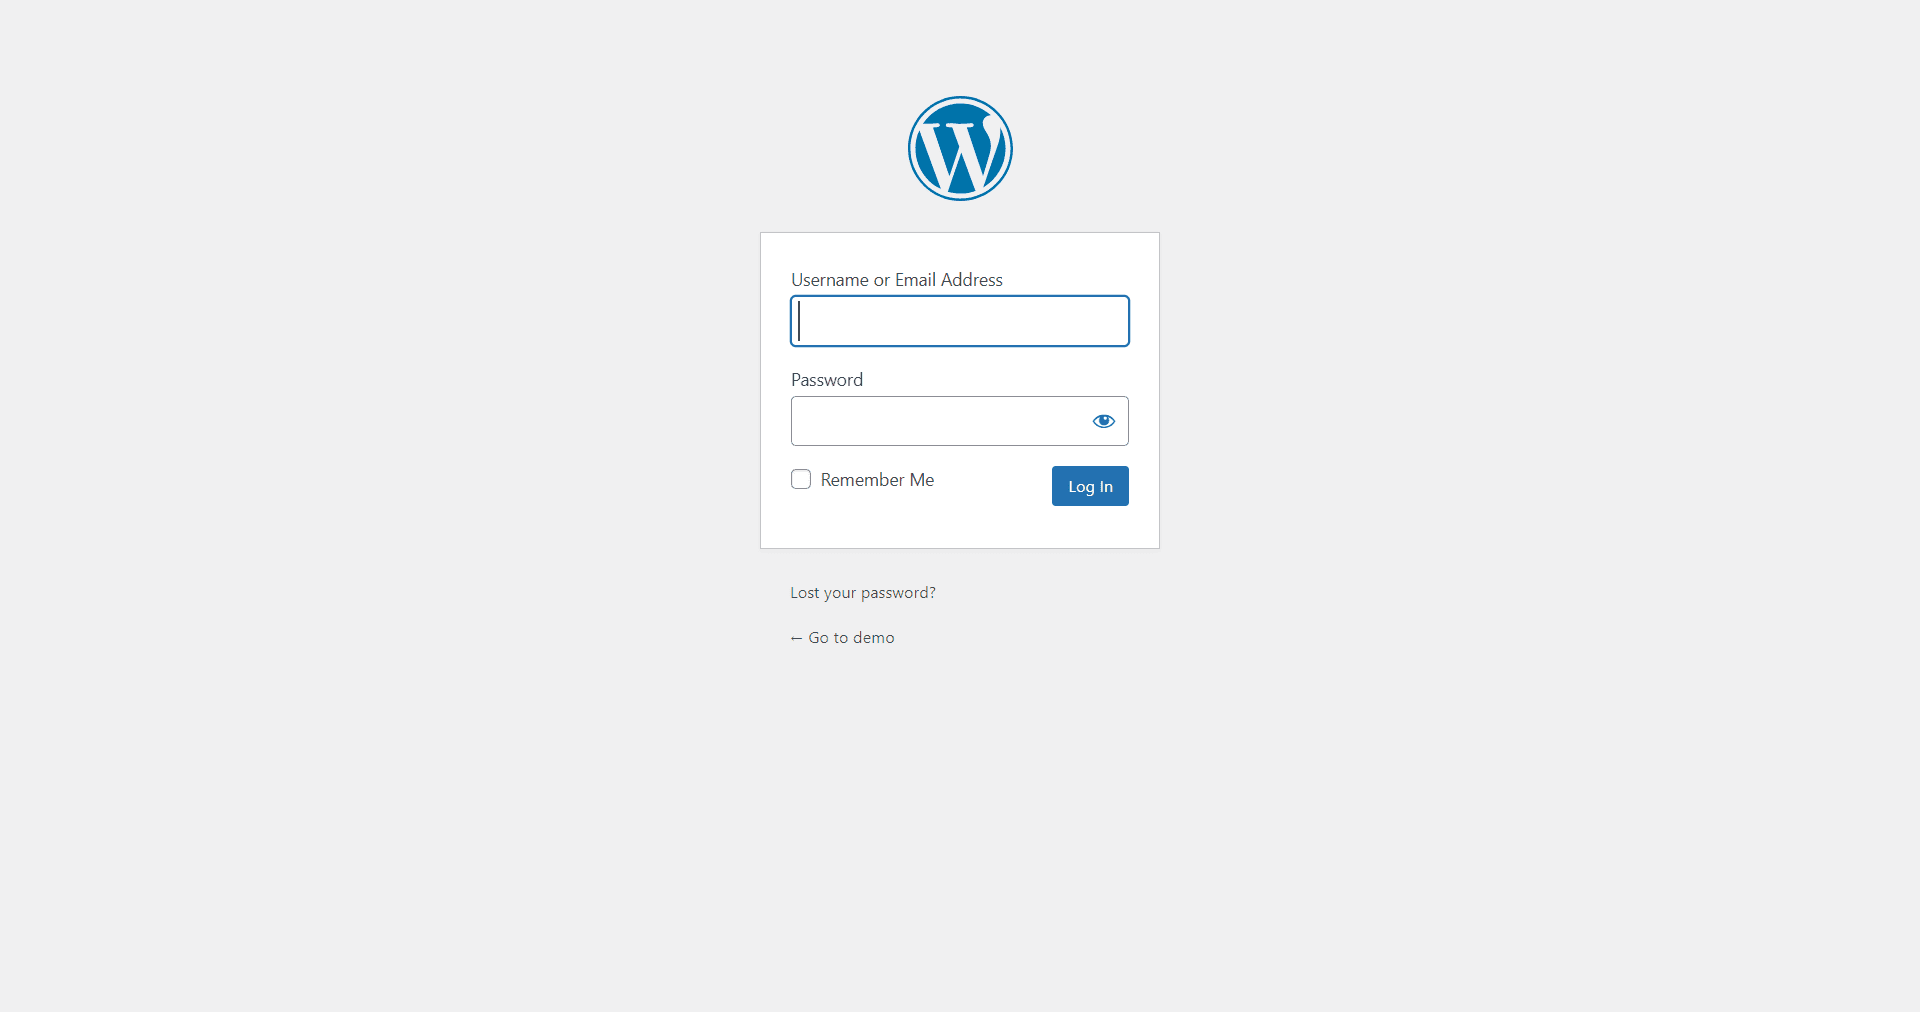
http://localhost/mylocalwebsite(change “mylocalwebsite” with your preferred site name). - Log in to your local site with the username and password you created during the installation procedure. (
http://localhost/mylocalwebsite/admin)
Benefits of Local Development
Understanding the advantages of working in a local development setting is critical. Here are several major advantages:
- Safe Testing and Experimentation: You can experiment with different themes, plugins, and content without affecting your actual website.
- Enhanced Development Speed: Local websites load faster since all resources are saved on your machine.
- Security: Your local location is not connected to the internet, which reduces security hazards.
- Offline Access: You can work on your local site without an online connection.
- Effortless Backup and Restore: Local websites are simple to backup and restore.
Conclusion
Setting up WordPress in a local environment is a vital skill that will greatly improve your website development process. It offers a secure, efficient, and regulated environment for testing and creation. You’ve learned how to create a local WordPress environment, including a database and a fully configured WordPress installation, by following this comprehensive approach.
To summarize, local WordPress development is an invaluable resource for website developers, designers, and anyone wishing to hone their WordPress skills. Now that you have a local WordPress site, the possibilities are limitless. Explore, experiment, and express your creativity in a safe and efficient setting. Happy development!
FAQ
Setting up WordPress locally enables you to develop and test your website without disrupting the live site. It creates a regulated environment for research and development.
Yes, a local environment is best for theme and plugin development because it allows you to make changes, test functionality, and troubleshoot without affecting the live site.
No, a local environment does not require a registered domain. You can reach your local WordPress site via the localhost address or a custom domain that you create locally.
Yes, you can import an existing WordPress site by copying the files and then exporting/importing the database. You can use this to duplicate your live site locally.
Because the local environment is isolated from the live site, any modifications or data loss in the local environment have no effect on the live site. However, it is always recommended that you back up your local WordPress data on a regular basis.

